Images are essential to an effective website. Quality photos can mean the difference between a successful website and an ugly website that burns the retinas of it’s viewers.
Photos are especially important for websites that need to communicate anything visual; such as products, artwork, or services.
Here are a couple of websites that do a great job communicating visually with images:
www.spotify.com
www.littleco.com
Not only is it important to be posting big beautiful photos, it is equally important that they are properly optimized for the web. Not having properly optimized photos means you are probably missing out on potential visitors and sales.
Do your images provide Google and other search engines with the relevant information they need to be properly indexed? If not, how are people going to find them?
Are your photos too big? If so, they could be taking longer than necessary to load on phones and other mobile devices.
Why optimize your images?
Google can’t read photos… at least not very well. This is why you need to tell Google what the image is so that Google can correctly index and organize it.
Is that another photo of your cat with sunglasses? Or is that a photo of your Grandma’s famous green jello recipe? Google doesn’t know. You need to tell it.
Here are 5 important steps to optimize images for the web:
1. Image sizes
Before your photo is posted to the world wide web, it’s important that it be the right file size. If your images are too large, your visitors are not going to wait around for your website to load; especially mobile visitors. Images that are small in file size are essential for fast page load times. Unless you have access to expensive image editing software such as Adobe Photoshop, there are plenty of free online tools to help optimize image size; here is a great one.
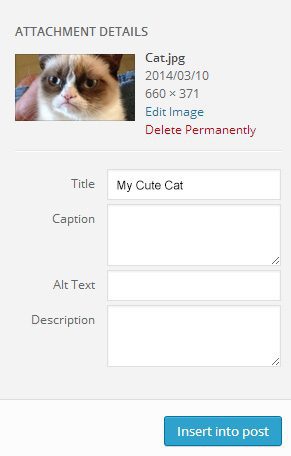
2. Image Title Tag
Give your image a good title tag. The title tag is what the visitor is going to see when they highlight over the image with the cursor. Wordpress makes uploading and tagging images a piece of cake. Simply type in the title tag after uploading your image:

If you’re not using wordpress, and are updating your website like a dinosaur, the format goes like this:
<img src=”cat.jpg” title=”My Cute Cat”>
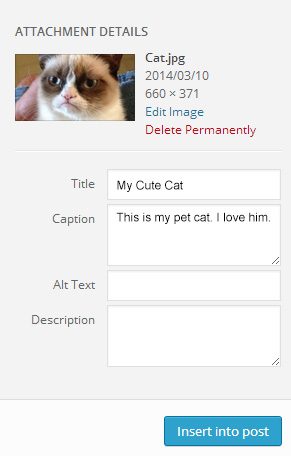
3. Image Caption
Add a caption tag to give your visitors a nice description or insight about your image. In WordPress, the caption is added directly underneath your image. Image captions are not used by Google, so only add if you want to give your visitors additional information.

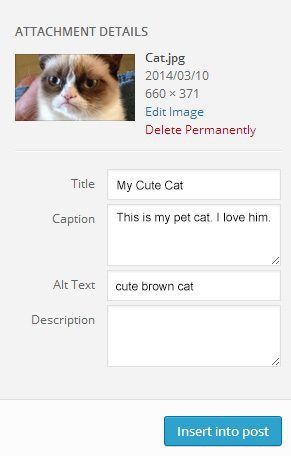
4. Image Alt Tag
The Alt tag is especially important for SEO and Google indexing. Make a habit of always putting relevant keywords that describe your image in your alt tags. The alt tag will also be displayed in place of the image if the image link breaks and cannot be displayed. WordPress also has a handy field to add an alt tag:

5. Image File Name
When uploading any image, make sure it has a descriptive file name. A year from now when you or a visitor are searching for a particular image, which one do you think will be easier to find?
IMG_8692.jpg or cute-brown-cat.jpg?
These are 5 great ways to help optimize your website and get more traffic. Interested in more information on maintaining an effective website, sign up for our newsletter in the right sidebar.
Have any more image optimization tips? Please leave them in the comments below!
